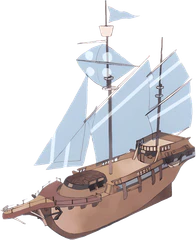
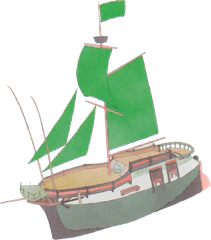
Final Engagement: Difference between revisions
More actions
m Text replacement - "|japanese_name" to "|jpname" |
m Text replacement - "|romaji_name" to "|roname" |
||
| Line 17: | Line 17: | ||
|name=Headquarters Ship | |name=Headquarters Ship | ||
|jpname=本拠地船 | |jpname=本拠地船 | ||
| | |roname=Honkyochi-sen | ||
|image=Headquarters Ship | |image=Headquarters Ship | ||
|explore=?? | |explore=?? | ||
| Line 31: | Line 31: | ||
|name=The Grishend | |name=The Grishend | ||
|jpname=グリシェンデ号 | |jpname=グリシェンデ号 | ||
| | |roname=Gurishende-gō | ||
|image=[[File:The Grishend.png]] | |image=[[File:The Grishend.png]] | ||
|explore=3 | |explore=3 | ||
| Line 45: | Line 45: | ||
|name=Gaien Ship | |name=Gaien Ship | ||
|jpname=ガイエン船 | |jpname=ガイエン船 | ||
| | |roname=Gaien-sen | ||
|image=Gaien Ship | |image=Gaien Ship | ||
|explore=5 | |explore=5 | ||
| Line 59: | Line 59: | ||
|name=Obel Ship | |name=Obel Ship | ||
|jpname=オベル王国船 | |jpname=オベル王国船 | ||
| | |roname=Oberu Ōkoku-sen | ||
|image=Obel Ship | |image=Obel Ship | ||
|explore=3 | |explore=3 | ||
| Line 77: | Line 77: | ||
|name=Kooluk Ship A | |name=Kooluk Ship A | ||
|jpname=クールーク船A | |jpname=クールーク船A | ||
| | |roname=Kūrūku-sen A | ||
|image=1st Kooluk Fleet Ship | |image=1st Kooluk Fleet Ship | ||
|explore=3 | |explore=3 | ||
| Line 91: | Line 91: | ||
|name=Kooluk Ship B | |name=Kooluk Ship B | ||
|jpname=クールーク船B | |jpname=クールーク船B | ||
| | |roname=Kūrūku-sen B | ||
|image=1st Kooluk Fleet Ship | |image=1st Kooluk Fleet Ship | ||
|explore=5 | |explore=5 | ||
| Line 105: | Line 105: | ||
|name=Kooluk Ship C | |name=Kooluk Ship C | ||
|jpname=クールーク船C | |jpname=クールーク船C | ||
| | |roname=Kūrūku-sen C | ||
|image=1st Kooluk Fleet Ship | |image=1st Kooluk Fleet Ship | ||
|explore=5 | |explore=5 | ||
Revision as of 12:49, 11 September 2023
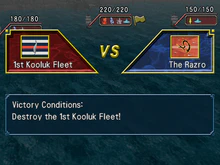
The Final Engagement (最後の決戦, Saigo no Kessen) is a naval battle that occurs in Suikoden IV. It is the eleventh, and final, such battle of the game.
Information
The Final Engagement was a naval battle aimed at capturing El-Eal Fortress, which served as the front-line base for the Kooluk Empire's Southern Expansion Policy.
The giant Rune Cannon located there was determined by Allied Forces strategist Elenor Silverberg to have a significant cool down period. As such, she successfully lured the Kooluk forces into firing at a decoy fleet under cover of fog, allowing the allied navy to advance unhindered. In addition, an infiltration team would take advantage of the fog and attempt to deactivate the cannon, preventing a second salvo.
The plan succeeded and the Allied Forces were able to fight the Kooluk 1st fleet without having to worry about incoming fire from the giant Rune Cannon. As Elenor led the infiltration team, the actual allied navy was commanded by the hero and Elenor's disciple, Agnes, for the battle.
Although the 1st fleet was led by Troy and was an exceptionally powerful fleet, the leadership and strategies of the Allied Forces would rally the beleaguered navy's strength, leading to their victory. This victory would break Kooluk naval power in the Island Nations, bringing a swift end to the Island Liberation War.
Ships
Allied Forces
| Headquarters Ship 本拠地船, Honkyochi-sen | |
 | |
| Explore | ?? |
|---|---|
| Range | ?? |
| Endurance | ?? |
| Captain | Player assigned |
| Rune Cannon | Player assigned |
| Fighters | Player assigned |
| Underlings | Player assigned |
| The Grishend グリシェンデ号, Gurishende-gō | |
[[File: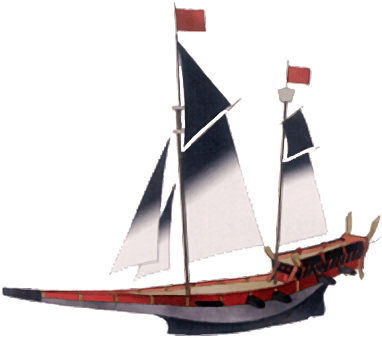 | |
| Explore | 3 |
|---|---|
| Range | 4 |
| Endurance | 7 |
| Captain | Player assigned |
| Rune Cannon | Player assigned |
| Fighters | Player assigned |
| Underlings | Player assigned |
1st Kooluk Fleet
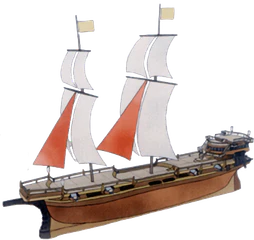
| Kooluk Ship A クールーク船A, Kūrūku-sen A | |
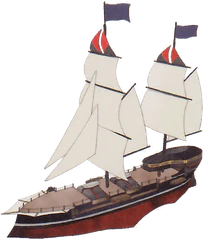 | |
| Explore | 3 |
|---|---|
| Range | 4 |
| Endurance | 7 |
| Captain | Troy |
| Rune Cannon | Kooluk Soldier (Fire) Kooluk Soldier (Wind) Kooluk Soldier (Earth) Kooluk Soldier (Water) |
| Fighters | Kooluk Soldier Kooluk Soldier Kooluk Soldier Kooluk Soldier |
| Underlings | 220 |
References
- Genso Suikoden Kiwami Encyclopedia, page 424

