
Regaining Razril: Difference between revisions
More actions
Created page with "220px|thumb|right|The One Where That One Boat Switches Teams'''Regaining Razril''' (ラズリル奪回, ''Razuriru Dakkai'') is a [[naval battle]..." |
m Text replacement - "|jp_name" to "|japanese_name" |
||
| Line 12: | Line 12: | ||
{{Fleet IV | {{Fleet IV | ||
|name=Headquarters Ship | |name=Headquarters Ship | ||
| | |japanese_name=本拠地船 | ||
|romaji_name=Honkyochi-sen | |romaji_name=Honkyochi-sen | ||
|image=Headquarters Ship | |image=Headquarters Ship | ||
| Line 23: | Line 23: | ||
|underlings=''Player assigned'' | |underlings=''Player assigned'' | ||
|name2=The Grishend | |name2=The Grishend | ||
| | |japanese_name2=グリシェンデ号 | ||
|romaji_name2=Gurishende-gō | |romaji_name2=Gurishende-gō | ||
|image2=The Grishend | |image2=The Grishend | ||
| Line 38: | Line 38: | ||
{{Fleet IV | {{Fleet IV | ||
|name=Kooluk Ship A | |name=Kooluk Ship A | ||
| | |japanese_name=クールーク船A | ||
|romaji_name=Kūrūku-sen A | |romaji_name=Kūrūku-sen A | ||
|explore=4 | |explore=4 | ||
| Line 48: | Line 48: | ||
|underlings=120 | |underlings=120 | ||
|name2=Kooluk Ship B | |name2=Kooluk Ship B | ||
| | |japanese_name2=クールーク船B | ||
|romaji_name2=Kūrūku-sen B | |romaji_name2=Kūrūku-sen B | ||
|explore2=4 | |explore2=4 | ||
| Line 58: | Line 58: | ||
|underlings2=100 | |underlings2=100 | ||
|name3=Gaien Ship | |name3=Gaien Ship | ||
| | |japanese_name3=ガイエン船 | ||
|romaji_name3=Gaien-sen | |romaji_name3=Gaien-sen | ||
|image3=Gaien Ship | |image3=Gaien Ship | ||
Revision as of 01:07, 22 August 2020

Regaining Razril (ラズリル奪回, Razuriru Dakkai) is a naval battle that occurs in Suikoden IV. It is the seventh such battle of the game.
Information

The Allied Forces had been able to secure a series of key alliances thanks to strategist Elenor Silverberg. With their strength growing, the Allied fleet was able to make a move on Razril, which had fallen without a fight to the Kooluk Empire.
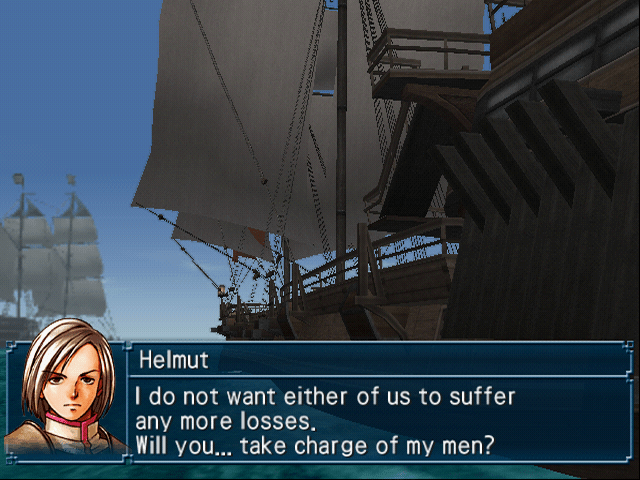
At the outset of the battle, it appeared as if the Allied Forces would be outnumbered by the Mixed Kooluk Fleet, led by Helmut. However, the Gaien Ship pressed into service by Kooluk would turn on their oppressors as the Allied fleet approached, turning the odds in favour of the besieging force.
The battle swiftly ended heavily in the Allied Forces favour. With the battle lost, Helmut quickly surrendered in order to prevent further loss of life. As someone who never believed in the Kooluk occupation of Razril, he would agree to serve in the Allied Forces thereafter.
Ships
Hero's Army
Mixed Kooluk Fleet
References
- Gensosuikoden Kiwami Encyclopedia, page 489